By: Georgette Eva
So many of us grew up wanting to become travel photographers – exploring the world, getting amazing shots for National Geographic, and proudly displaying our work on our walls. Even if you don’t dream of becoming a professional photographer, there are some essentials to know if you want to get good shots of your travels (or in your day-to-day adventures). Let’s have a look to 10 photography tips for amateurs – and maybe these will even help you get started in a travel photography career!
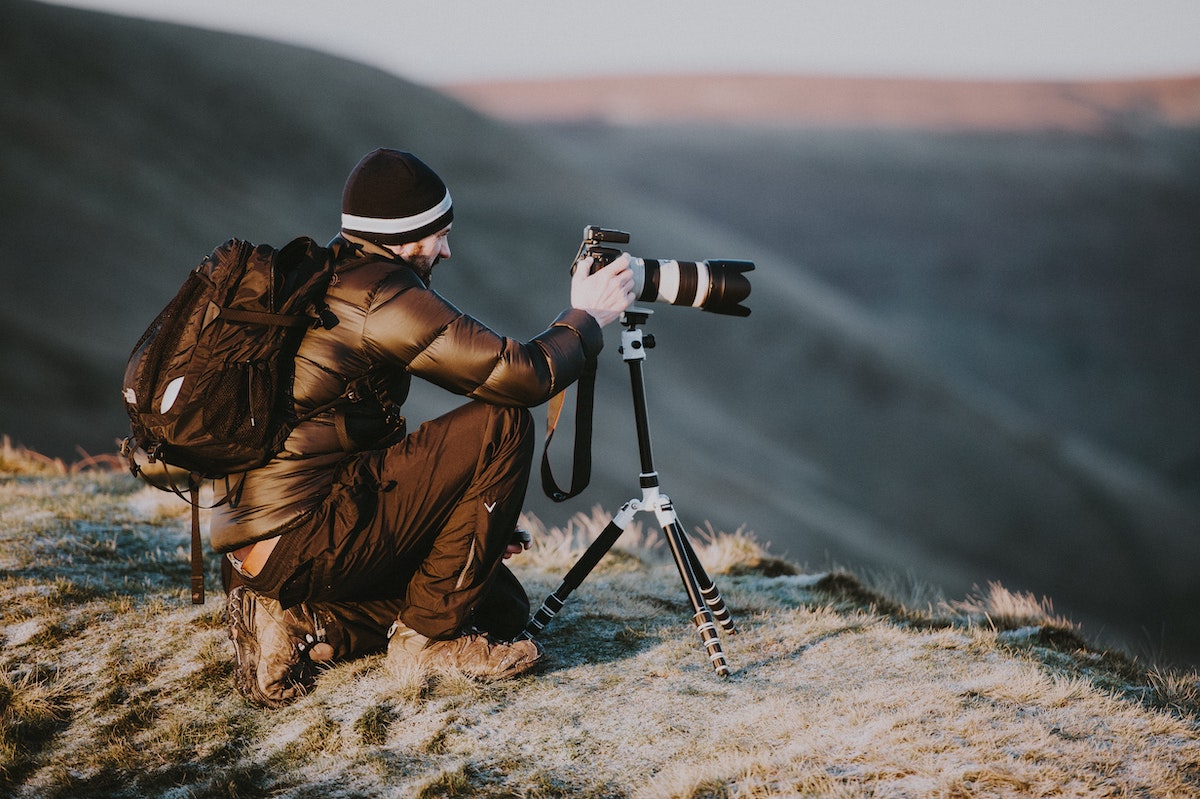
1: Know Your Camera
Photo by Saketh Garuda on Unsplash
That seems like a no-brainer, but I used to just unpack my electronics and learn as I go. Who has time for reading that manual, right? No. Knowing your equipment is the first step, and scrambling with settings or even changing out of flash made me miss incredible shots, not to mention test people’s patience.
So experiment at home, check out the website for camera tips, and look at discussions online to see if any other camera users have cheats and tips. Don’t leave your family smiling in front of that monument as you scramble to adjust the camera’s exposure. They won’t be smiling for long.
2: Bring the Essentials
If you have a full kit, just bring the basics, like a lightweight tripod, memory cards, durable lenses, and a proper bag to store everything. With memory cards, I always heard bring more than you think. It’s sort of the underwear rule, but with photography.
3: Try the Rule of Thirds
One of the best photography tips: when composing a shot, split the shot into a 9×9 grid. This way you can put the subject in an interesting part of the frame. Play with depth and angle this way.
4: Take a Closer Look
Photo by Vince Fleming on Unsplash
Macro shots work beautifully for nature shots or at museums, get closer to your subject to get the details you saw in person. Just make sure everything is in focus before you capture it.
5: Frame Your Shot
Look at the natural scene and your subject, and highlight that subject by framing the shot with architecture or other people or the environment.
6: Take the Everyday
Look away from the landmarks and monuments and capture a shot of the everyday. Look at texture, colors, patterns in sights. Focus on architecture or homes. Look at people and culture. These shots have more of a story. (Make sure you have informed permission to take your photo first!)
7: Play with the Angle
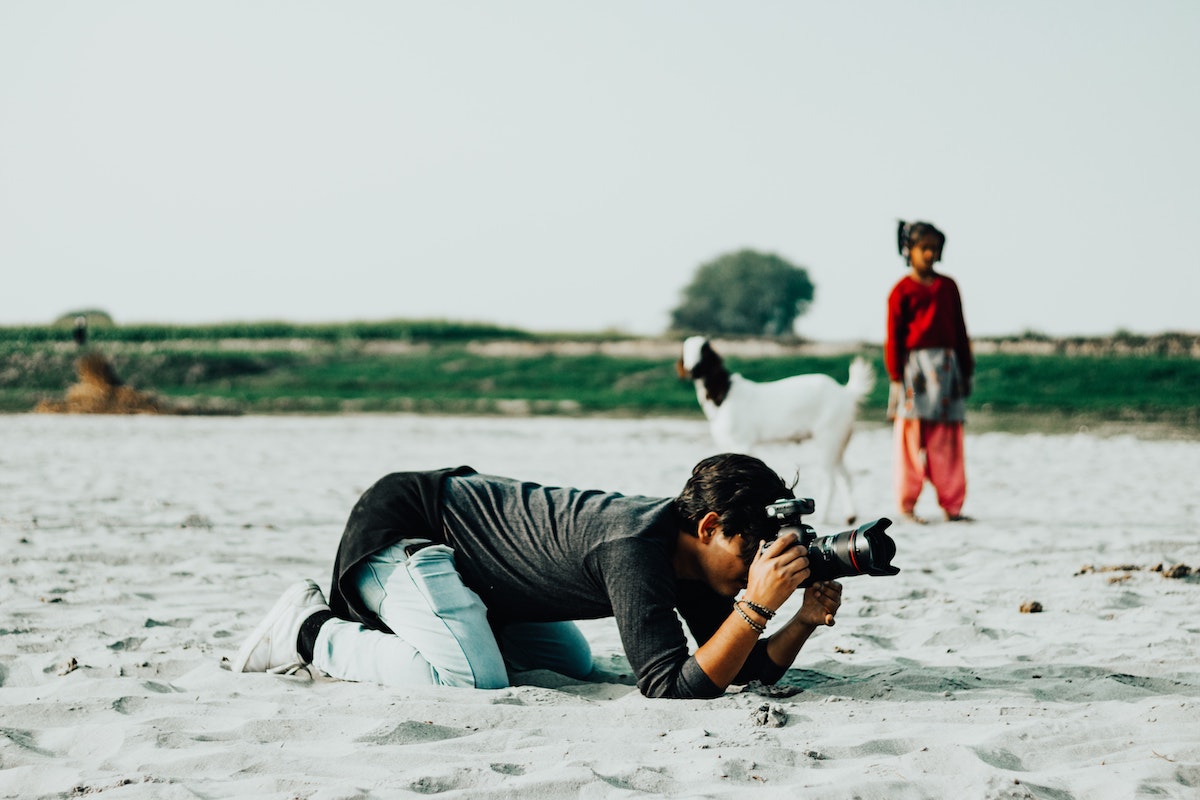
Photo by Shubh karman Singh on Unsplash
Don’t take every photo at eye-level. Change the angle, stoop, bend, get closer. It may look funny to the outsider, but I think I get the best shots when I try to change how I look at a scene. The product speaks for itself really.
Besides, you’re there to show your experience. Take a shot that shows you were really there.
8: Don’t be afraid to ask
If you find an interesting subject, like a building or group or individual, don’t be afraid to ask if you can take a photo. If they say no, just be polite and move on. If they agree, take a few test shots until they’re comfortable, be courteous, and always thank them for their time.
9: Take RAW Photos
You want to be able to have the best footage, so take several shots and then edit them later. You want to be able to have the best quality to work with.
10: Write it Down
At the end of the day, take a moment to look through your album and jot a few notes about the photographs. Keep the location or the subject’s name in mind. Write what made it interesting to you. You wouldn’t want to forget anything when you get back home to share your stories.
Featured image via Unsplash.